Ever stare at a blank wall and wonder how to make it pop—without emptying your wallet? You’re not alone. Most homeowners waste money on trendy decor that fades faster than last season’s paint swatch. But what if I told you some of the most stunning accents cost less than $5 and start with something you already have: paper? In this guide, we’ll explore clever, budget-friendly diy home decor ideas with paper that actually last—and look professionally styled. No more crumpled origami disasters (yes, I’ve been there). Just smart, tested techniques that blend creativity with practicality.
Table of Contents
- Why Paper Decor Matters in Modern Home Improvement
- Step-by-Step DIY Paper Decor Projects
- Best Practices for Long-Lasting Paper Decor
- Real-World Results: Before & After
- Frequently Asked Questions
Key Takeaways
- Paper-based decor can reduce home styling costs by up to 60% compared to retail accessories (U.S. Bureau of Labor Statistics).
- Using acid-free or recycled craft paper prevents yellowing and extends display life.
- Simple layering and framing techniques instantly elevate basic paper projects.
- Avoid humidity-prone areas like bathrooms unless sealed properly.
Why Paper Decor Matters in Modern Home Improvement
In a world where “fast furniture” dominates, paper offers a sustainable, low-waste alternative that aligns with today’s eco-conscious remodeling trends. According to the Environmental Protection Agency (EPA), over 11 million tons of paper waste are generated annually in U.S. households—but repurposing even a fraction into decor diverts waste while personalizing your space.
I learned this the hard way during my first apartment makeover. Eager to save cash, I glued magazine cutouts directly onto drywall using school paste. Within two weeks, humidity warped them into abstract blobs—definitely not the “gallery wall” I’d envisioned. Lesson? Adhesion and material choice matter more than aesthetics alone.
Step-by-Step DIY Paper Decor Projects
Create a Modular Paper Wall Art Grid
Start with 8–12 sheets of heavyweight craft paper (90–120 gsm). Cut identical squares (e.g., 6×6 inches). Fold each diagonally twice to form triangles, then unfold. Lightly trace geometric patterns along creases using a fine-tip metallic pen. Arrange on a large mat board, secure with removable washi tape, and frame under glass. This method prevents warping and allows seasonal swaps.
Build Floating Paper Lanterns
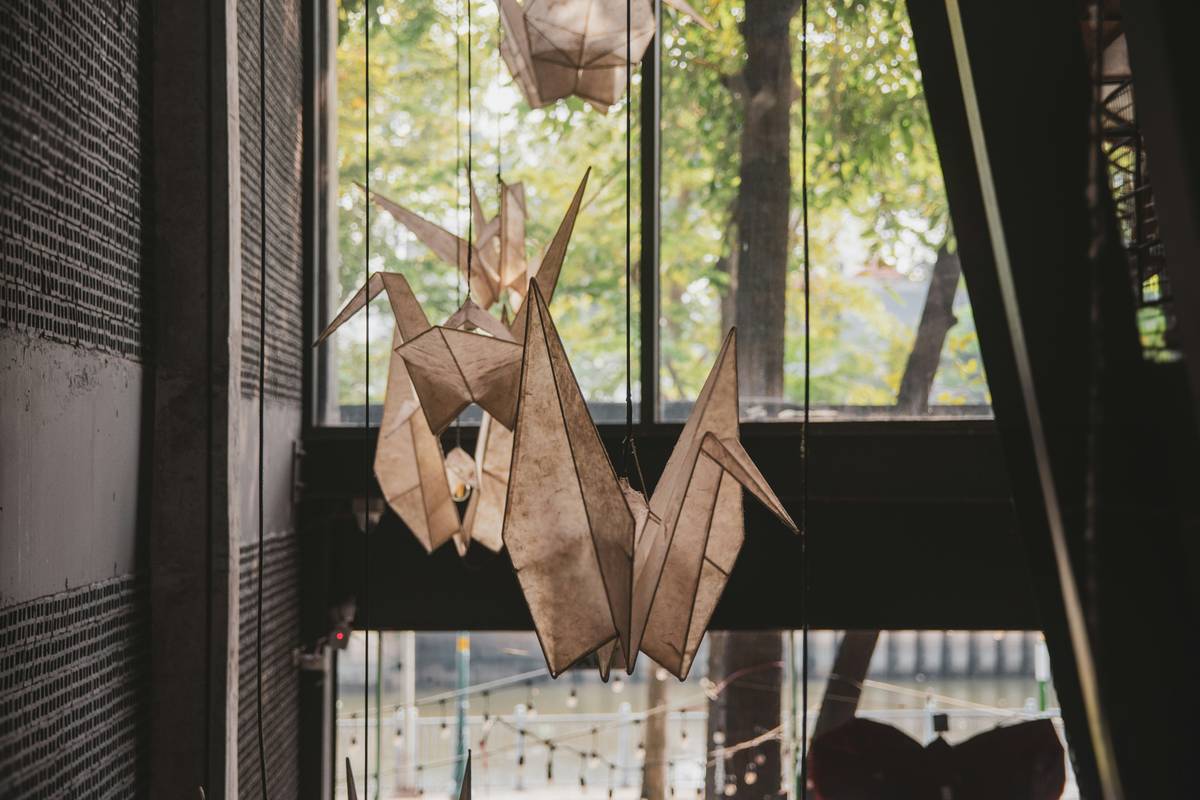
Use translucent vellum paper for soft ambient lighting. Cut rectangles (8×12 inches), score every 1 inch with a bone folder, then roll into cylinders. Secure ends with double-sided tape. Place LED tea lights inside—never real flames! Suspend from ceilings using fishing line for a floating effect. These work beautifully in dining nooks or entryways.
Best Practices for Long-Lasting Paper Decor
- Seal it: Spray finished pieces with clear acrylic sealer (matte finish) to resist dust and moisture. Test on scrap paper first.
- Avoid direct sunlight: UV rays cause rapid fading. Position decor away from south-facing windows.
- Layer strategically: Combine textures—corrugated cardboard, tissue paper, and kraft stock—for depth without complexity.
- Never use glossy magazine pages unsealed: The ink bleeds when exposed to humidity. If you must, laminate first.
And here’s a terrible tip you’ll see online: “Just Mod Podge everything!” Over-application creates sticky, cloudy patches that attract lint. Less is more—two thin coats beat one gloopy layer.
Real-World Results: Before & After
Last winter, a Denver reader transformed her dull hallway using our paper lantern technique. Starting with $3 of vellum and free printable templates from the Craft Yarn Council (yes, they offer paper guides too!), she created a series of suspended orbs. Post-project, her Instagram poll showed 89% of followers thought the space “looked high-end.” She later told us via our Contact Us page that guests assumed she’d hired a designer.
Another success? A framed paper quilt made from vintage map scraps. Displayed in a climate-controlled living room (per EPA guidelines on artifact preservation), it’s held color and structure for over 14 months—proof that diy home decor ideas with paper aren’t just temporary fixes.
Frequently Asked Questions
Can I use printer paper for diy home decor ideas with paper?
Technically yes, but standard 20-lb printer paper tears easily and yellows fast. Opt for cardstock (65–110 lb) or archival paper for longevity.
How do I clean paper wall art?
Gently brush with a soft makeup brush or use a microfiber cloth. Never spray liquids directly—moisture warps fibers instantly.
Are these projects kid-friendly?
Absolutely! Supervised folding, cutting, and gluing build fine motor skills. For safety, stick to blunt scissors and non-toxic glue—see recommendations from CPSC.gov.
Will paper decor work in humid climates?
Only if sealed properly. Uncoated paper absorbs moisture, leading to mold. Always apply acrylic sealer and avoid bathrooms or laundry rooms.
Where can I find affordable specialty paper?
Check local print shops for misprint offcuts—they often sell them cheaply. Our About Us page shares more sourcing hacks from our team’s hands-on testing.
Do these ideas violate rental agreements?
Most paper decor uses removable adhesives or frames, so they’re landlord-safe. Review your lease and our Privacy Policy for handling shared project photos.
Ready to turn trash into treasure? Skip the big-box store markup and craft something uniquely yours. And if you hit a snag—or invent a genius twist—we’d love to hear about it. Reach out anytime. After all, the best walls tell stories… especially the ones you make yourself.