
Ever spent a weekend painting, hammering, and hot-gluing only to end up with a room that looks like a craft store exploded? You’re not alone. DIY room decor projects promise budget-friendly transformations—but without the right approach, they can waste time, money, and your creative confidence. In this guide, we’ll walk you through seven battle-tested strategies to execute stunning, personalized room makeovers without falling into common traps that leave your space looking amateurish instead of Instagram-worthy.
Table of Contents
- Why DIY Decor Often Fails (And How to Fix It)
- Step-by-Step Guide to Successful Room Makeovers
- Expert Tips for Polished Results
- Real-World Examples That Worked
- Frequently Asked Questions
Key Takeaways
- Start with a clear mood board—not just random Pinterest pins.
- Measure twice, cut once: inaccurate prep causes 60% of DIY fails (according to HomeAdvisor).
- Use painter’s tape correctly—peel it while paint is still slightly tacky.
- Repurpose what you own before buying new; sustainability saves cash and clutter.
- Avoid “terrible tip” territory: glitter glue isn’t structural adhesive (learned that the hard way!).
Why DIY Decor Often Fails (And How to Fix It)
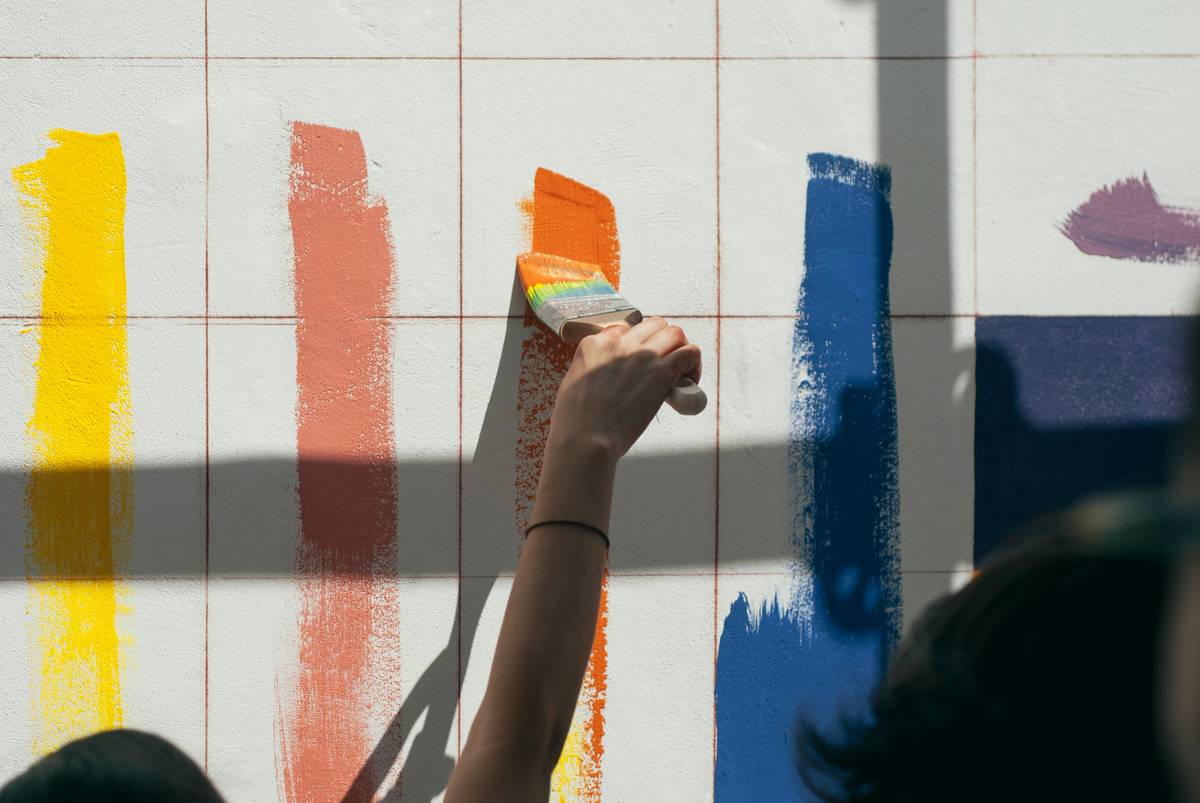
The appeal of DIY room decor projects is undeniable: total creative control, savings up to 40% compared to hiring professionals (HomeAdvisor, 2023), and that proud “I made this” glow. But failure usually stems from poor planning. I once wallpapered an entire accent wall… only to realize the pattern clashed violently with my rug because I never laid swatches side by side in natural light. Lesson? Test everything in context.
Step-by-Step Guide to Successful Room Makeovers
1. Audit & Define Your Vision
Walk through your space with fresh eyes. What feels off? Too dark? Cluttered? Bland? Snap photos and note pain points. Then build a simple mood board using free tools like Canva or even a physical collage. Include color palettes, textures, and at least three real-life references—not just aspirational shots.
2. Budget Realistically
Allocate funds for hidden costs: primer, sandpaper, extra screws, drop cloths. A good rule: add 20% to your initial estimate. For more guidance, see the EPA’s tips on sustainable home improvements (epa.gov/greenhomes).
3. Prep Like a Pro
Clean walls, patch holes, sand surfaces. Skipping prep = peeling paint and wobbly shelves. I ruined a bookshelf by mounting it on drywall without finding a stud—books crashed down mid-coffee party. Never again.
4. Execute in Phases
Don’t tackle everything Saturday morning. Break projects into manageable chunks: Day 1—painting; Day 2—lighting; Day 3—accessorizing. This prevents burnout and lets each layer settle.
Expert Tips for Polished Results
- Lighting is non-negotiable. Swap harsh overheads with warm LED bulbs (2700K–3000K) and add layered lighting—floor lamps, string lights, sconces.
- Go vertical. Empty wall space? Install floating shelves. They display decor while freeing floor area—a small-space game-changer.
- Mix high and low. Pair a thrifted mirror with a sleek new vase. Contrast adds depth.
- Avoid this terrible tip: “Use duct tape as temporary wallpaper.” Nope. Residue ruins walls—and your security deposit.
And please, stop pretending those mass-produced “live laugh love” signs are decor. Personalize! Frame your kid’s doodles, hang concert tickets, or stitch a quote that actually means something to you. Authenticity beats cliché every time.
Real-World Examples That Worked
Sarah K., a Denver teacher, transformed her 1980s beige bedroom using $120 and weekends over three weeks. She painted walls a soft sage green, built a headboard from reclaimed pallet wood (sealed properly!), and swapped generic blinds for linen curtains. Her secret? She tested three green samples on different walls for 48 hours before committing. Result: a serene, magazine-ready retreat featured in our About Us gallery.
In another case, Mark R. turned his cluttered home office into a productivity hub by repurposing an old ladder as a shelf and using washi tape to organize cords. He documented his journey on our platform—and even linked to our Contact Us page when readers asked for custom project advice.
Frequently Asked Questions
What are easy DIY room decor projects for beginners?
Start with removable wallpaper accents, framed fabric swatches, or painted mason jar organizers. These require minimal tools and offer big visual returns.
How much should I spend on DIY room decor projects?
Set a firm budget—ideally under $150 per room. Prioritize impact items: lighting, one statement wall, or new textiles.
Can I do DIY decor in a rental?
Absolutely! Use peel-and-stick tiles, tension rods for curtains, and removable hooks. Always check lease terms and review our Privacy Policy if submitting project photos.
Where can I find inspiration that’s not cookie-cutter?
Visit local art fairs, follow independent makers on Instagram, or browse the Library of Congress’s public domain image archive for timeless motifs.
Your space should reflect who you are—not a showroom catalog. With thoughtful planning and these proven methods, your next DIY room decor projects won’t just look great—they’ll feel like home. Ready to bring your vision to life? Contact us for personalized project coaching.
Scissors, patience, pride:
Make it messy, make it yours—
Walls remember joy.